


Your keyboard is one of the most frequently used parts of your laptop, making it a magnet for dust, dirt, and germs. Over time, the oils and dirt from your fingers can cause the keys to become sticky or unresponsive. Crumbs and dust can also build up beneath the keys, affecting keystroke performance. Regular cleaning not only improves hygiene but also ensures optimal performance and extends the lifespan of your keyboard.
In this guide, we’ll walk you through easy-to-follow steps for effectively cleaning your laptop keyboard, along with product recommendations and tips to help maintain its longevity. Whether you’re doing a quick wipe-down or a deep clean, these methods will make cleaning your laptop keyboard easy and effective and ensure it stays in top shape.


Why should you clean your laptop keyboard?
Cleaning your keyboard isn’t just about keeping it looking good—it plays a vital role in functionality, hygiene, and durability. Here’s why regular cleaning is important:
Improves functionality and keystroke response
A clean keyboard ensures smoother key movement and proper keystroke registration. Dust and debris can accumulate beneath the keys, causing unresponsive buttons or difficulty pressing certain keys. Regular cleaning prevents these issues and helps maintain a smooth typing experience.
Reduces the spread of germs and bacteria
Keyboards are breeding grounds for bacteria, especially if you frequently use your laptop in shared spaces, cafes, or while eating. Studies have shown that keyboards can contain more bacteria than a toilet seat. Regularly disinfecting your keyboard minimizes the spread of germs and contributes to a healthier workspace.
Extends the lifespan of your keyboard
Accumulated dirt and spills can lead to hardware malfunctions over time. Dust and crumbs can cause mechanical failures, while spills may result in permanent damage to electronic components. By keeping your keyboard clean, you ensure that it remains functional for years to come.
What you’ll need to clean your laptop keyboard
Before you start cleaning, gather the right tools and products to ensure an effective and safe cleaning process.
Light cleaning
For routine maintenance, gather these essential items:
- Soft microfibre cloth: Ideal for wiping away smudges and dust without scratching your keyboard.
- Compressed air or a small handheld vacuum: Removes dust and crumbs from between the keys efficiently.
- Cotton swabs: Helps clean tight spaces and edges around keys.
- Isopropyl alcohol (70% or higher): Effectively removes grime, oil, and bacteria without harming the keyboard’s surface.
- Disinfecting wipes: Safely sanitizes your keyboard without excessive moisture.
Deep cleaning
For a deeper clean, use these additional tools alongside the ones mentioned above:
- Cleaning gel or putty: Molds into crevices to lift out hidden dust and dirt.
- Soft brush: Helps sweep away stubborn debris from beneath the keys.
- Optional – Keycap puller (for mechanical or detachable-key keyboards): Allows for deeper cleaning by safely removing keycaps.


Step-by-step instructions for daily cleaning
A quick daily cleaning routine helps prevent grime from building up and keeps your keyboard fresh. Follow these simple steps:
Step 1: Turn off your laptop
Always power down your device before cleaning to prevent accidental key presses. If possible, unplug your laptop and remove any external accessories to avoid damage.
Step 2: Shake out loose debris
Gently turn your laptop upside down and tap it lightly to dislodge crumbs and dust. You can also tilt it at an angle to use gravity to help release debris.
Step 3: Use compressed air or a vacuum
Hold the can of compressed air at an angle and spray short bursts between the keys to remove dust and crumbs. If using a vacuum, choose one with a soft brush attachment to prevent scratching.
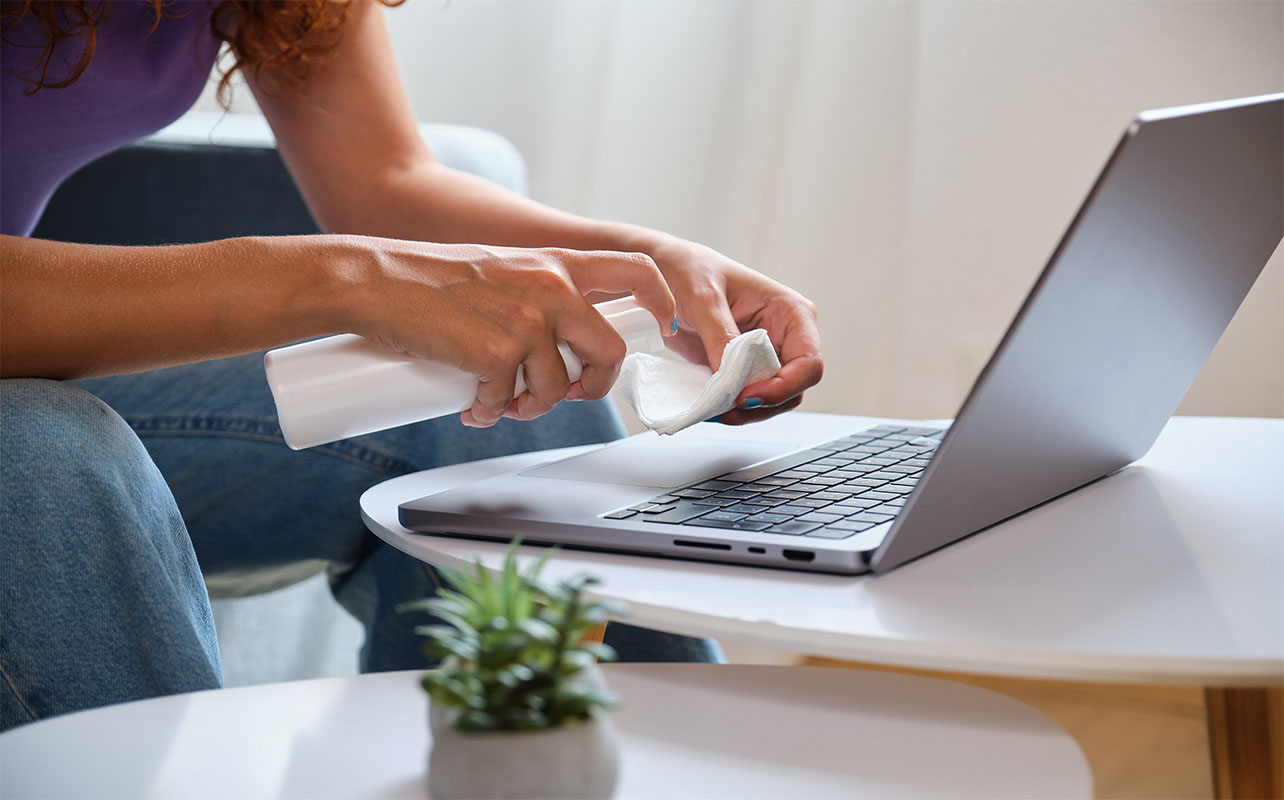
Step 4: Wipe the keyboard with a microfibre cloth
Dampen a microfibre cloth slightly with water or a small amount of isopropyl alcohol. Gently wipe down the keys and surrounding areas to remove smudges and surface grime.
Step 5: Disinfect with wipes or cotton swabs
Use a disinfecting wipe to clean each key individually. Avoid excessive moisture by wringing out the wipe before use. For harder-to-reach areas, dampen a cotton swab with isopropyl alcohol and carefully clean around the keys.
How often to perform maintenance cleaning
Perform light cleaning every 3-5 days or as needed. Regular upkeep prevents dust and grime from accumulating and keeps your keyboard looking new.
Step-by-step instructions for deep cleaning
A more thorough cleaning is necessary when you notice sticky keys, debris buildup, or when it’s time for a deeper refresh. Follow these steps for deep cleaning:
Step 1: Turn off your laptop and unplug it
Ensure your laptop is completely powered down and disconnected from any power source before deep cleaning. Removing the battery (if possible) is also recommended to prevent electrical damage.
Step 2: Remove and clean keycaps (if applicable)
If your laptop has removable keys, use a keycap puller to gently detach them. Soak the keycaps in a small dish of isopropyl alcohol for a few minutes, then wipe them clean and allow them to dry completely before reattaching.
Step 3: Use cleaning gel or putty
Press a piece of cleaning gel or putty onto the keyboard and let it settle into the crevices. Peel it away to lift out hidden dirt, dust, and debris.
Step 4: Brush away stubborn debris
Use a soft brush to sweep away any remaining dust or crumbs from beneath the keys. Be gentle to avoid damaging delicate components.
Step 5: Wipe with isopropyl alcohol
Dampen a microfibre cloth with isopropyl alcohol (70% or higher) and carefully wipe each key and surrounding area. This step ensures a deep clean while disinfecting your keyboard.
How often to perform deep cleaning
Deep cleaning should be done every 1-2 months, or whenever you notice sticky keys or significant dirt buildup. Regular maintenance helps prevent long-term keyboard issues.


Tips and tricks for maintaining a clean keyboard
To keep your keyboard cleaner for longer, consider implementing these simple habits.
Use keyboard covers
Keyboard covers act as a protective barrier against dust, crumbs, and spills. Investing in one can help keep your keyboard stay cleaner for longer. They’re especially helpful for those who travel frequently.
Avoid eating or drinking near your laptop
Food particles and liquid spills are common causes of keyboard damage. Keep snacks and drinks away from your device to prevent accidental messes and sticky keys.
Regularly inspect for sticky keys
If any keys feel sticky or unresponsive, clean them promptly to avoid further issues. A quick wipe with isopropyl alcohol can often solve minor problems before they escalate.
Keep your laptop keyboard clean for optimal performance
A clean keyboard not only looks better but ensures smooth performance and extends the lifespan of your laptop. Regular maintenance and occasional deep cleaning are quick and effective ways to keep your keyboard in top condition.
Using the right tools and techniques makes all the difference. Be sure to follow the tips above for optimal results, and shop the right cleaning supplies and accessories at Best Buy to keep your laptop keyboard spotless and performing at its best.


