


The Sister Splinter boss fight in Hollow Knight: Silksong might look less challenging than some initially. However, as it progresses, you’re tasked with managing multiple enemies and barriers in the arena while avoiding Sister Splinter and finding room to launch your own attacks.
Knowing what to expect is half the battle, so in our Silksong Sister Splinter guide, we’ve broken down Sister Splinter’s moveset, how to counter her attacks, and the best way to deal with all those minions.
Sister Splinter location in Hollow Knight: Silksong
Sister Splinter is at the top of Shellwood, west of Bellhart and east of the Blasted Steps region. When you enter Shellwood from Bellhart, head left into the open area with water at the bottom, and work your way up via the platforms until you reach the upper left exit. You’ll pass a Pollip Heart for the “Rite of the Pollip” quest along the way, but you can ignore it for now.
The next room has a bench sign, but to get there, you have to drop down into an arena fight. Deal with them, then follow the path up, ignore the left exit, and spend 80 rosary beads to unlock the first Shellwood bench.
The path from here is linear. Exit to the left, take the elevator down, then exit to the left again. You’ll find Shakra in the next room with the Shellwood map for 70 rosary beads. Exit via the left, ignore the left exit in the next room, and climb up. If you have the necessary 60 rosary beads, use the top-left exit to enter Shellwood’s bellway and activate it. If not, head right instead. You can’t do much in this room, so follow the path right and up, zoom through the next room, and you’ll enter the upper portions of the bench room you were in earlier.
Do not drop down. Climb up and head right, and then make sure you activate the elevator before leaving. This creates a permanent shortcut back to the bench and a much more tolerable runback if you need to challenge Sister Splinter more than once. The room to the right of the elevator requires you to platform over some white blossoms, and then the room it leads you to is where Sister Splinter lives.
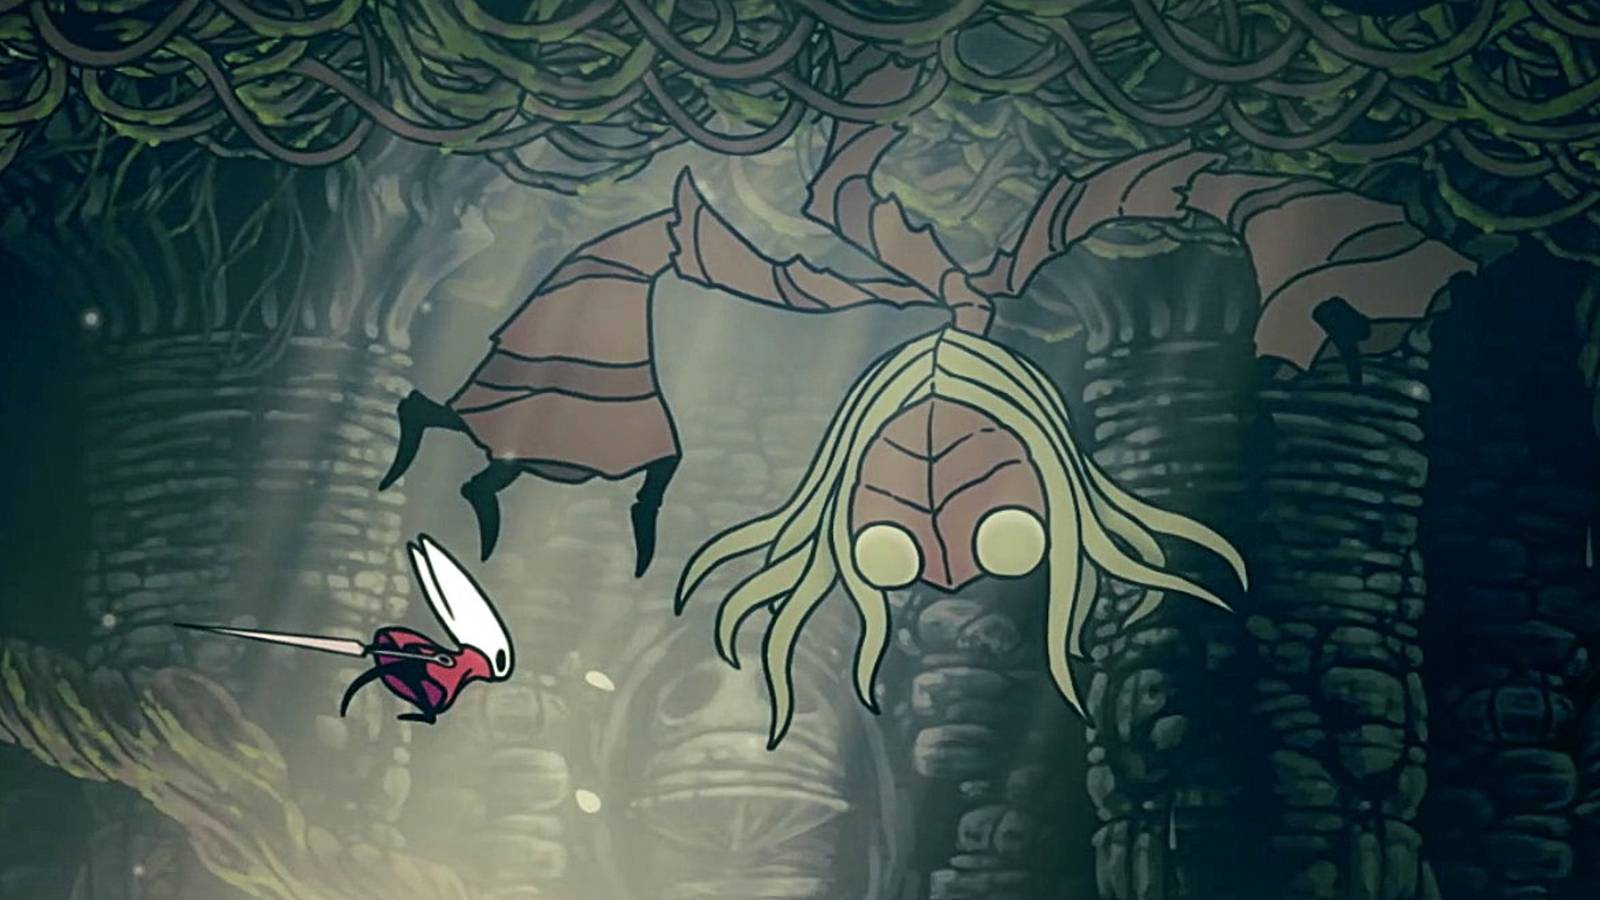
Sister Splinter’s moveset


Sister Splinter only has three attacks, but they increase in frequency as the fight progresses.
- Thorn summon: This is Sister Splinter’s most common attack. She’ll summon two ropes of thorn that stretch from ceiling to floor. Sister Splinter disappears from view before summoning them, and you can spot where they’ll appear thanks to a distinct tell — rustling spots on the arena’s ceiling. You can (and should) break these thorn ropes with a few swipes from Hornet’s needle. The thorn rope will break if Sister Splinter’s punch hits it, but don’t rely on that method, as it isn’t always something you can force to happen.
- Three-hit punch combo: Sister Splinter’s only direct attack is a three-hit punch, which she telegraphs with a little shine detail on the fist she’s about to use first. The punches are downward and angled in the direction Sister Splinter’s fist is pointing in, and the easiest way to dodge these is to just get on the other side so you don’t get caught by accident. For example, if it’s the left fist, move to the left of it instead of the right.
- Splinterbark summon: Sister Splinter summons two Splinterbark enemies, small, flying bugs that rush toward Hornet in a whirl and damage with their claws. They can deal two masks’ worth of damage if they catch Hornet, but if you parry them while they spin, the momentum sends them backward and away. Ideally, you’ll defeat the Splinterbark before it gets too close, but if you get caught between dodging Sister Splinter and unlucky thorn placement, this is one method of staying safe. The best way to deal with Splinterbarks is to use upward attacks while they’re still floating down from the ceiling.

How to prep for Sister Splinter
You probably prepped all you can already. The only essential thing to have for this fight is the Straight Pins tool, as the rest of the fight just requires dodging and carefully managing all the summons Sister Splinter adds to the arena. Unlike the Moorwing fight, there’s no one else to save you this time. Make sure to rest at the bench near Shakra before starting the fight, so you can start closer to the boss arena if you need to retry.

The fight begins with Sister Splinter only using her punch attack and occasionally summoning thorns. You’ll need to jump and attack upward to damage Sister Splinter. The best time to do that is right after she repositions and after she finishes her punch combo, as she can’t counter and isn’t doing anything harmful in those moments. Just make sure you don’t jump too high, so you don’t take damage from touching the boss. Sister Splinter falls to the floor after taking enough damage, and you have maybe three seconds to attack as much as you can.
The first part of the fight ends after you deal enough damage — usually a few hits after she falls from the ceiling, stunned — and the second begins with Sister Splinter howling to summon two Splinterbark enemies. They float down from the ceiling, and you won’t have time to defeat both before one of them gets close to Hornet. Defeat one, then use ranged attacks such as Silkspear or Straight Pins to deal with the other one.

With good timing, you’ll manage to get rid of both Splinterbarks before Sister Splinter summons more thorn ropes and starts punching again. From here on (in our experience), Sister Splinter only summons one Splinterbark at a time, though the frequency of these summons increases in the battle’s final phase. While the Splinterbark is still gliding into the arena, attack it from below to get rid of it quickly and turn your focus back to Sister Splinter.
The fight’s final segment begins with another howl from Sister Splinter, and while her attacks remain the same, she summons more thorn ropes more often. Continue clearing ropes and dealing with Splinterbarks, attacking Sister Splinter when it’s safe to do so.
Sister Splinter rewards
You don’t get anything for defeating Sister Splinter. However, once she’s gone, you can move on to get the wall jump ability, which opens many more avenues for exploration, including back in Bellhart.


