


")


Roots of Truth Abyss puzzle in Crimson Desert puts Kliff’s special skills to the test, with some challenging Axiom Force sections and a lot of reliance on using Force Palm jumps to get around. If you haven’t unlocked that from the skill tree yet, make sure you do before starting.
Below, we explain how to clear the Roots of Truth puzzle in Crimson Desert, including how to bypass some of the trickier platforming challenges. And if you’re getting lost in the vastness of Pywel, keep our Crimson Desert interactive maps handy.
How to reach the Roots of Truth in the Abyss in Crimson Desert
You can reach the Roots of Truth in the Abyss by following the path that appears after you complete Chaos Forest. You’ll need to solve the Spire of Insight riddles to access Chaos Forest first, and the path has a bit of a wrinkle, too. Some of the platforms that appear will crumble and break after a couple of seconds.


However, once you’ve made it a little way away from the first island, you can use Force Palm midair to gain height and glide to the island where the teleporter is. Make sure to stand on the panel to unlock the fast-travel point before starting. It’ll serve as an easy way back in case you fall during the puzzle.
How to solve the Roots of Truth puzzle in Crimson Desert

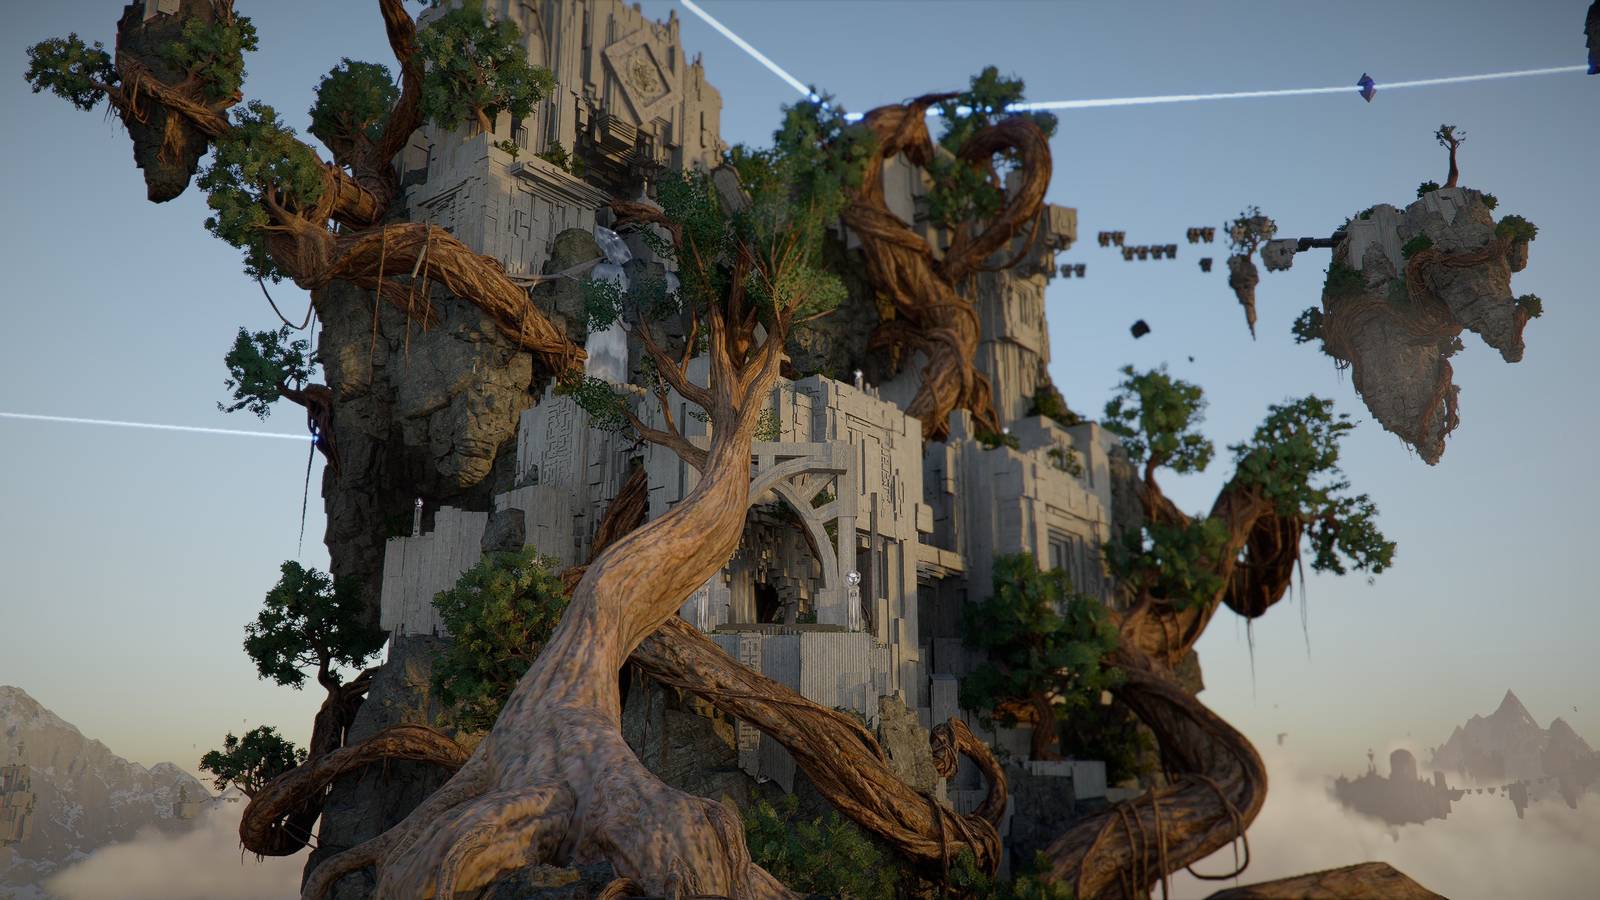
When you first enter the Roots of Truth area, you’ll see a waterfall in front of you and signs of a passage behind it. Ignore that as you can’t walk through the water. Instead, look to the right of the waterfall to spot an opening in the wall. Climb up and follow the path around until you reach the top. You’ll see a wheel with paddles blocking your way, with three lasers just beyond it.

The easiest way to deal with this obstacle is just to fly over it. Use Force Jump to gain height, and then activate Kliff’s flying ability to glide over the lasers and reach the other side.

Next up is a vertical challenge. There’s a wall with three grates and lasers moving up and down, barring you from climbing past. Wait for the bottom laser to start moving up, then grab onto the grate. Hold L2/LT or Q on keyboard to make Kliff brace himself, and then use Force Palm to spin the grate and move Kliff to the other side. If you don’t resist, Kliff will fly off backward.

You likely won’t have enough stamina to climb up the other side and repeat the process, so drop to the ground instead. Climb up the stone next to the metal wall, and then use Force Palm jumps (or an upgraded Axiom Force if you have it) to reach the top of the wall. Hold resist and use Force Palm to flip the grate and enter the next chamber.

Here, you’ll find an active electrical panel, three more flippable metal grates, and a cage-like protrusion hanging down from the ceiling. You can’t get the panel through the grates. Instead, you need to put it in the cage. The cage’s openings are barred on all sides except the side that faces the two flippable grates. Use Axiom Force to move the panel into that slot. Then, grab the grates and Force Palm yourself to the other side.

Cross the platforms and make your way to the top. Turn to the right, where you’ll see a section of ground with holes. If you look inside, you’ll find the charged panel. Use Axiom Force to pull the panel through the larger, central slot in the floor. This process is fiddly and will probably take a few tries. Just keep rotating the piece to try and fit it through the slot, and move Kliff around as well to get a different angle. Once it’s finally through, place it onto the panel slot behind you and use Force Palm midair to lock it into place. This will activate one of the Roots of Truth door generators and one of the wheels ahead of you.

Cross the gap ahead of you and follow the path to the left. You’ll find another location to put an electrical panel, but first we need to find it.
Make your way all the way to the edge and adjust your camera to peer over. You’ll see a small rectangular hole in the wall below you, which is also where the second panel is. Cling onto the wall and climb down or carefully glide down.
Use Axiom Force to pull it out, and raise it as high as you can (the panel will float when you let go of it). Climb back up the wall, grab the panel, and take it back to the empty slot we saw before. Force Palm it into the slot to activate it and the second wheel ahead of you. The final circular panel will light up, and you’ll just need to Force Palm the center to complete the puzzle.

We recommend following the large roots to the top of the island and gliding down, but you can also climb your way to the panel if you’d like. Once you’ve made it to the panel, hold resist and Force Palm it to unlock the altar and skybridge. Make your way back to the top to claim your artifact
If you follow the path that opens next, you’ll be faced with the rather trickier Precipice of Truth Abyss puzzle.
Just starting out in Crimson Desert? We have guides to help you learn the basics and refresh your memory on how some of its systems work. The world of Pywel is huge, so you might have a hard time deciding where to go first, but you can make your journey a little easier with the help of our interactive map. Along the way, make sure to learn a few life skills like fishing, logging, cooking, and mining, all of which can help you make money.
We also have walkthroughs for puzzles in the Abyss like the Root’s End and Precipice of Truth, as well as ancient ruins like the Dragon’s Stone Chamber.


