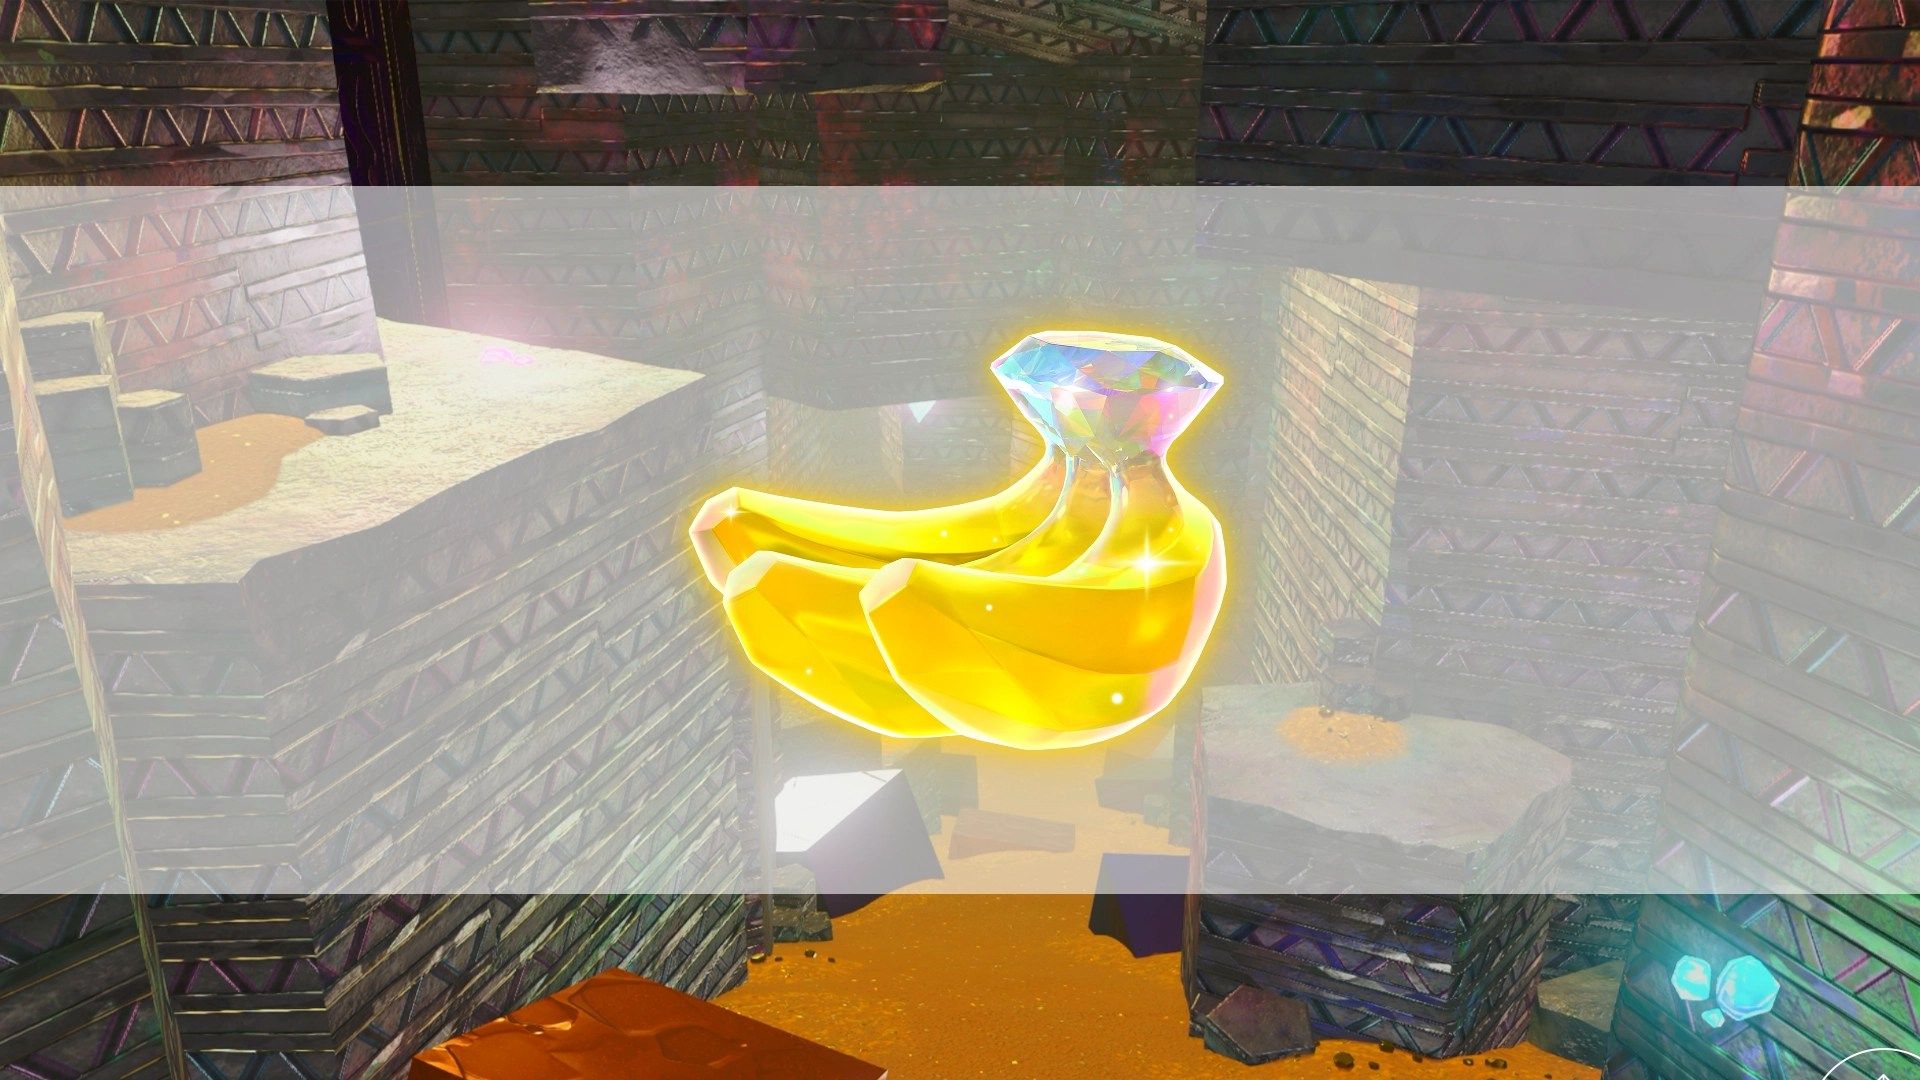
In Donkey Kong Bananza, the Forbidden Layer is the 15th layer that you’ll crash land onto, and of course, it’s full of Banandium Gems.
The Forbidden Layer is a wide open layer that has floating concrete islands dotted about. It may seem impossible to traverse between the islands, but with a pocket full of gold, you can hop from island to island and pick up every banana along the way.
Below, we list where to find all of the Banandium Gems in the Forbidden Layer in Donkey Kong Bananza.
Sublayer 1500 Banandium Gems
There are 25 Banandium Gems in Sublayer 1500 in the Forbidden Layer.
#1: Scrubbed Muckety-Muck!
This banana is directly in front of you after you land in the Forbidden Layer.
#2: Secret in the Shaft
After you enter the shuffling room with the electric floor, climb up instead of dropping down to find a rocky patch on the ceiling. Destroy it to find a hidden room with a banana.
#3: Soggy First Steps
After you exit the shuffling room, you’ll spot an Ancient Ruins to the right of the Warp Gong. Unlock it and head inside to find this banana at the end of the first shifting path.
#4: Swift Sideways Shuffle
Before you turn left towards the exit barrel, you’ll spot another changing wall ahead of you. If you look across the gap, you’ll spot this banana on the other side.
There are a couple ways to cross the gap. The easiest for us was to transform into the zebra form and shimmy across the wall while it’s made out of dirt. You can also cross the gap if you have the ostrich form’s glide ability. First, transform into a snake and charge jump into the air. Then, quickly transform into an ostrich and fly the rest of the way.
#5: No Swimming, No Slipping
This banana is found at the end of the challenge course.
#6: Battle: Nighty Night, Nemesis
After you climb to the top of the first tower, pay the Securitone 2,000 gold to create a “bridge.” A prismatic layer will appear, which will transform any chunk you throw into a bridge. Spot the small floating island in the distance with the Fractone and battle challenge entrance. Grab a chunk of sand and chuck it over towards the island to create a passage stone bridge. Head inside the challenge to find four illuminoids and another prismatic layer above the sand platform.
To defeat the illuminoids, you’ll need to block out the sun. Stand on either of the stone platforms and grab a chunk of it. Throw it through the prismatic layer, creating crystal bridges in the air that go over each illuminoid. Once each illuminoid are in the shade, they become vulnerable and you’re free to defeat them.
#7: Pitching for Passage
This banana will be found naturally as you reach the floating concrete island. Pay the Securitone 2,000 gold to create a bridge and throw a chunk at the island to make a pathway.
#8: Past the Shuffling Ceiling
Directly next to Banandium Gem #7 on the floating concrete island, you’ll spot a tile on the floor that shuffles between stone and concrete. Break it and drop into the hole to end up in a hallway with shuffling ceiling grates and a banana at the far end. Make your way across the ceiling, stopping at the permanent fixtures, until you reach the banana.
#9: Under, Up, and Inside
After you reach the Second Concrete Tower tuning fork, pay the Securitone 5,000 gold to create another prismatic layer. If you look off the edge to the left, you’ll spot a Fractone with gold sparks flying out of it. Grab a chunk of sand and throw it a little to the left of the island because this prismatic layer is constantly rotating. Cross over to the island and grab a chunk of the Fractone. Look underneath the island you came from, and throw the chunk towards the three gold balls. Walk over the bridge you just made to find a hole in the bottom of the island. Transform into your snake form and charge jump through the barrier to enter a room with a shuffling gold block. While still in snake form, charge jump through the block while it’s made out of gold to collect the banana.
#10: Battle: Forged Path Upward
From the Second Concrete Tower tuning fork, look to the right to spot a concrete island with a battle challenge and a Fractone. Grab a chunk and throw it to the island to make a bridge. Cross over and head inside to face off against three buzzoids. Grab chunks and throw it towards each buzzoid, which will make a bridge in the process. Repeatedly make bridges to get closer to each buzzoid and throw chunks at them until you get your banana.
#11: Passage to the Lonely Island
After you make it to the Third Concrete Tower tuning fork, look over the edge on your left to spot a platform below you. Drop down and look into the distance to find a floating island that holds a banana. There are two ways to reach this banana, you can either pay the Securitone beside you 1,000 gold to create a prismatic layer, or if you’re low on gold, you can climb back to the top of the island and use your snake and ostrich forms.
However, you will need the glide ability to pull this off, so make sure you unlock it before attempting. Once you’re back on top of the island, transform into your snake form, charge jump into the air, and double jump at your jumps’ peak height. Quickly swap to your ostrich form and flutter and glide the rest of the way.
#12: Perilous Passage
From the Third Concrete Tower tuning fork, look off into the distance towards the next island to spot a banana on a triangular platform. The intended way to reach this banana is to pay the Securitone 9,999 gold and bridge your way over by throwing chunks.
If you’re low on gold, you can use your snake and ostrich forms instead, but you will end up getting stranded on the platform afterwards. If you’re okay with that, transform into your snake form, charge jump into the air, and do a double jump at its peak. Quickly swap to your ostrich form and glide the rest of the way. After you collect the banana, teeleport back to the Third Concrete Tower tuning fork to progress like normal.
#13: Cranky’s Forbidden Rant
After you’ve paid the Securitone 9,999 gold on the third island, look up to find a floating island up in the sky. Bridge your way over by throwing chunks towards the island, but be careful because this prismatic layer is constantly rotating. Once you reach the top of the prismatic layer, either chunk jump or transform into a snake and charge jump onto the island to find Cranky Kong and Rambi. Listen to Cranky Kong’s rant to collect the gem.
#14: Halfway Shuffled
Once you reach the Third Concrete Tower tuning fork, look ahead to spot the Lost in the Shuffle challenge course on a floating island on the left. You can reach this island after you pay the Securitone 9,999 gold and bridge your way over, or you can use snake and ostrich to charge jump and fly your way across.
The first banana can be found about halfway through the course.
#15: Balloons in the Shuffle
To get this banana, you’ll need to pop all five balloons while you’re on the mine cart.
#16: Survived the Shuffle
This banana is found at the end of the challenge course.
#17: Unwelcome at Go-No-Further Gate!
You’ll find this banana as you reach the fourth concrete island.
#18: Battle: Shuffling Walls
To the left of the Go-No-Further Gate tuning fork, you’ll find a Constructone beside a battle challenge. Pay 600 gold to remove the rubble and head inside. To easily complete this battle challenge, we recommend chunk jumping over the slippery walls rather than punching your way through.
#19: Forbidden Smashin’ Stats
Interact with Smasintone after you’ve smashed through 30,000 cubic meters of Passage Stone, which is the material that your bridges are made out of.
#20: Passage through Lava
From the Go-No-Further Gate tuning fork, head to the rightmost edge of the island to find a concrete hole. Drop inside into an area with a banana surrounded by lava and another money-hungry Securitone. Pay them 1,000 gold to make a prismatic layer that moves side to side. Grab a chunk of the nearby Fractone and bridge your way over to the banana.
#21: Shuffling Ascent
Along the right side of the metal wall, you’ll find a Constructone beside a blocked Ancient Ruin. Pay the Constructone 1,000 gold to clear away the rubble and turn into an ostrich to head inside.
The first banana is immediately after you make the first ascent.
#22: Behind the Shuffle
The second banana can be found behind a flower wall during the bouncing portion of the challenge course.
#23: Atop the Shuffle
The third banana can be collected at the end of the challenge course.
#24: A Gift from Grumpy
This is a post-game banana, so you won’t be able to collect it until you beat the game’s main story.
To get this banana, head to this faraway platform at the end of this layer to find Grumpy Kong, who will give you a banana for your troubles. Chunks you throw in this area will create a trail of passage stone for you to walk on, so just keep building paths upwards to get to Grumpy.
#25: Forbidden Chip Exchange
Interact with the Chip Exchange at the Go-No-Further Gate and trade Banandium Chips and gold to get a banana.
After this layer, you’ll need to trek through the Planet Core to find the remaining bananas.
Monkeying around in Donkey Kong Bananza? We have guides to help you plow through this collectathon, including where to find Banandium Gems on Radiance Layer, Groove Layer, and Feast Layer. We also have guides on how to use amiibos and explainers on the various Ancient Bananza Powers and the skill tree.


![The 6 Best Self-Guided Walking Tours in Toronto [2025]](https://torontoblogs.ca/wp-content/uploads/2025/08/The-Best-Toronto.png)

![1st Aug: The Angry Birds Movie 2 (2019), 1hr 36m [PG] – Streaming Again (6.2/10)](https://occ-0-82-999.1.nflxso.net/dnm/api/v6/Qs00mKCpRvrkl3HZAN5KwEL1kpE/AAAABYGQ2TekpVUGn2R9T-7NLoZ6ahvcFUFPaZjQt1G3dOz4U6Yxq-d_oeoPPiDU_i1b8d_gy4Ot8-mqG7N3PLIRtXUypAHKZFiuPZ-t.jpg?r=17f)


